
Oh, there’s nothing quite like the smell of freshly baked gingerbread cookies filling the house during the holidays, is there? But let’s be honest—the real magic happens when you dive into mézeskalács díszítés (that’s Hungarian for gingerbread decorating, in case you were wondering!). I still remember my grandma letting me go wild with the icing as a kid—snowflakes, messy Santas, even the occasional „abstract” blob that somehow still looked festive. Whether you’re keeping traditions alive or starting new ones, decorating these spiced beauties is half the fun. So grab your piping bags and sprinkles—let’s turn those golden-brown cookies into edible works of art!
Why You’ll Love This Mézeskalács Díszítés Recipe
- Super easy—no fancy skills needed, just piping bags and creativity!
- Perfect for all ages (kids especially go nuts for the sprinkles part).
- Customize designs however you want—snowflakes, reindeer, even inside jokes!
- Makes your kitchen smell like holiday magic while you work.
- Results look professional (even if your piping is a little wobbly—trust me).
Ingredients for Mézeskalács Díszítés
- 1 batch of baked gingerbread cookies (cooled completely—warm cookies melt icing!)
- 2 cups powdered sugar, sifted (lumps are the enemy of smooth piping)
- 1 egg white (or aquafaba for vegan friends—3 tbsp does the trick)
- 1 tsp lemon juice (brightens the flavor and helps the icing set)
- Food coloring (gel works best—liquid can make icing runny)
- Sprinkles, edible glitter, or dragees (because sparkle is mandatory in my book)
Pro tip: Double the icing if you’re going all-out with designs—it disappears faster than you’d think!
Equipment You’ll Need
- Piping bags (or ziplock bags in a pinch—snip a tiny corner!)
- Small round piping tips (I like #2 or #3 for fine details)
- Mixing bowls (one for each color if you’re going rainbow mode)
- Food coloring brushes (or clean paintbrushes—just label them “for cookies only”!)
- Toothpicks (for fixing oopsie-daisies or dragging icing into patterns)
Bonus: A damp paper towel nearby to wipe sticky fingers—because chaos is part of the fun.
How to Decorate Mézeskalács Díszítés Step-by-Step
- Prepare the Icing: In a medium bowl, whisk together powdered sugar, egg white, and lemon juice until smooth. You want it thick enough to hold its shape but thin enough to pipe—think toothpaste consistency. Overmixing makes it bubbly, so stop once it’s glossy! (Pro tip: Cover with a damp towel if taking breaks—it dries fast.)
- Color and Pipe: Divide icing into small bowls and stir in gel food coloring (a toothpick dab goes far!). Spoon into piping bags fitted with small round tips. Test swirls on parchment first—adjust thickness with drops of water or extra sugar if needed. Outline cookie shapes first, then “flood” centers with thinner icing using a toothpick to spread.
- Add Magic: Immediately sprinkle on toppings before icing sets! For layered designs, let base colors dry 15 minutes, then pipe details on top. Let cookies dry at room temperature for 2 hours (or overnight if stacking).
Preparing the Icing
Mix powdered sugar, egg white, and lemon juice until smooth—no lumps! If it’s too thick, add drops of water; too thin? More sugar. Overmixing = bubbles, so stop once combined. I like to strain mine through a sieve if I’m being fancy (read: patient).
Coloring and Piping the Icing
Divide icing into bowls for colors—gel food coloring won’t thin it like liquid does. Fill piping bags only halfway (trust me, less mess). Practice swirls on parchment first. Pipe outlines slowly, then flood centers with a toothpick or squeeze bottle. Pro tip: Twist bag tops to prevent oozing!
Adding Finishing Touches
Sprinkle while wet! For 3D effects, let base layers dry slightly before adding dots or lines. Edible glitter? Yes. Mini pearls? Obviously. Just don’t move cookies until icing crusts over (about 30 minutes)—smudges are heartbreaking.
Pro Tips for Perfect Mézeskalács Díszítés
- Keep icing covered with a damp towel between uses—it crusts over shockingly fast.
- Toothpicks are your secret weapon—fix wobbly lines, swirl colors, or poke air bubbles.
- If your kitchen is warm, chill cookies for 10 minutes before decorating to prevent icing meltdowns.
- Work light to dark with colors (white icing first!) unless you fancy pastel smudges.
- Rotate the cookie, not your hand for steady piping—your wrist will thank you later.
Bonus: A shot of espresso keeps hands steady for tiny details. (The cookies deserve your A-game!)
Creative Mézeskalács Díszítés Variations
Okay, let’s get wild with these cookies! Beyond classic snowflakes and Santa faces (adorable, obviously), try piping ugly holiday sweaters with „stitched” icing lines or tiny gingerbread villages with piped rooftops. Edible glitter mixed into icing? Instant winter wonderland. For the bold: metallic paint brushed over dried icing looks like fancy stained glass. My personal favorite? „Abstract” designs—just squiggle freely and call it modern art (wink).
Storing and Serving Decorated Gingerbread
Store your masterpieces in an airtight container with parchment between layers—nobody wants a cookie stack glued together with icing! They’ll keep for up to 2 weeks (if they last that long). Humidity softens icing, so avoid steamy kitchens. Serve at room temperature for maximum crunch!
Frequently Asked Questions
Can I use royal icing instead?
Absolutely! Royal icing dries harder, which is great for stacking cookies. Just swap the egg white for meringue powder (follow package ratios).
How long do decorated cookies last?
Stored properly, they’ll stay fresh for 2 weeks—but let’s be real, they’ll vanish way before then!
Can kids help with decorating?
Oh yes—give them their own piping bag (or spoon for “abstract” designs) and let creativity run wild. Just expect sprinkles everywhere (worth it).
Why is my icing too runny?
You probably added too much liquid. Thicken it with more powdered sugar, a spoonful at a time.
Can I freeze decorated cookies?
Technically yes, but icing may get sticky when thawed. Better to freeze undecorated cookies and ice them fresh!
Nutritional Information
Nutrition varies based on ingredients and brands—these are just estimates per cookie! Decorated gingerbread is a treat, so enjoy it as part of your holiday indulgences. (Pro tip: Balance it out with an extra walk to see Christmas lights—that counts, right?)
Now go show off your mézeskalács díszítés skills—tag us in your cookie photos so we can cheer you on!
Print
Magical Mézeskalács Díszítés: 5 Easy Steps to Stunning Cookies
- Total Time: 30 mins
- Yield: 24 cookies 1x
- Diet: Vegetarian
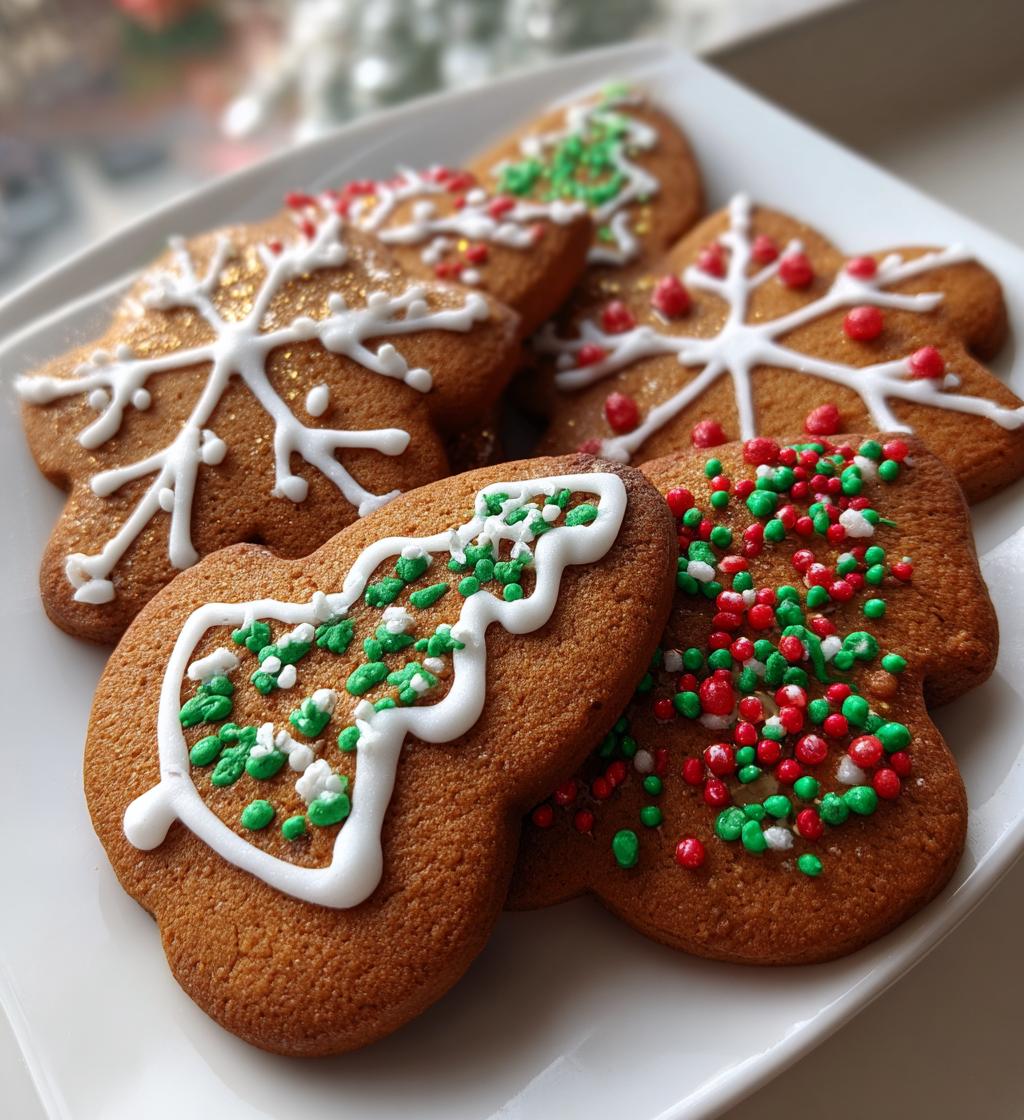
Description
Decorating gingerbread cookies with icing and festive designs.
Ingredients
- 1 batch of baked gingerbread cookies
- 2 cups powdered sugar
- 1 egg white
- 1 tsp lemon juice
- Food coloring (optional)
- Sprinkles (optional)
Instructions
- Prepare icing by mixing powdered sugar, egg white, and lemon juice until smooth.
- Divide icing into bowls and add food coloring if desired.
- Fill piping bags with icing and decorate cookies with designs.
- Add sprinkles while icing is still wet.
- Let icing dry completely before storing.
Notes
- Use a small piping tip for detailed designs.
- Keep unused icing covered to prevent drying.
- Let cookies cool completely before decorating.
- Prep Time: 20 mins
- Cook Time: 10 mins
- Category: Dessert
- Method: Baking
- Cuisine: International
Nutrition
- Serving Size: 1 cookie
- Calories: 80
- Sugar: 10g
- Sodium: 20mg
- Fat: 2g
- Saturated Fat: 1g
- Unsaturated Fat: 1g
- Trans Fat: 0g
- Carbohydrates: 15g
- Fiber: 0g
- Protein: 1g
- Cholesterol: 5mg
Keywords: gingerbread, cookie decorating, icing, festive