
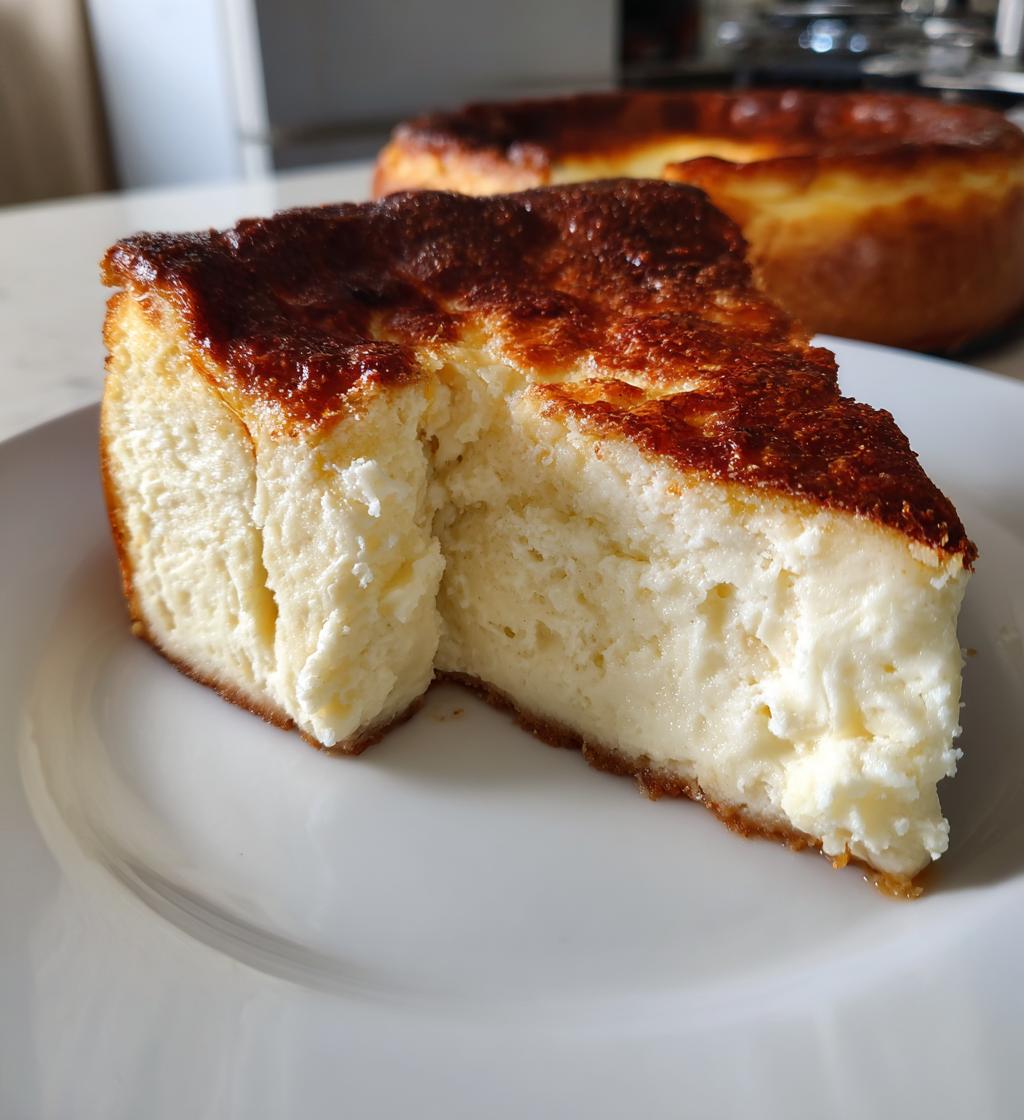
Oh, let me tell you about sernik—the Polish cheesecake that stole my heart the first time I tasted it at my grandmother’s kitchen table. Unlike the dense New York-style cheesecake, sernik is lighter, creamier, and has this delicate tang from lemon zest that makes it irresistible. The buttery crust? Absolute perfection. It’s the kind of dessert that feels like a warm hug—simple, comforting, and packed with tradition. Whether it’s a holiday, family gathering, or just a Tuesday craving, this sernik never disappoints. Trust me, once you try it, you’ll understand why it’s a staple in Polish homes.
Why You’ll Love This Sernik
- Creamy dreamy texture—so smooth it practically melts in your mouth.
- Easy-peasy prep—no fancy techniques, just simple, honest baking.
- Authentic Polish flavor—that lemony zing and buttery crust take you straight to Warsaw.
- Crowd-pleaser magic—works for fancy dinners and casual snacking alike.
Ingredients for the Perfect Sernik
(Tip: Measure everything before you start—trust me, it makes the process so much smoother!)
- 500g cream cheese (room temperature—this is non-negotiable for a lump-free filling)
- 200g sugar (pack it lightly into your measuring cup for the right sweetness)
- 4 large eggs (also room temp—cold eggs can make the filling stubbornly lumpy)
- 200g butter (softened, for that melt-in-your-mouth crust)
- 300g flour (all-purpose works perfectly here)
- 1 tsp vanilla extract (the good stuff—skip the imitation!)
- Zest of 1 lemon (brightens everything up—don’t skip this!)
See? Nothing fancy—just quality ingredients treated right. Oh, and if your butter’s still cold? Microwave it for 5-second bursts until soft but not melted. Been there!
Equipment You’ll Need
- Mixing bowls (one for crust, one for filling—less cleanup!)
- Electric mixer (a hand mixer works too—just beat that filling smooth)
- 9-inch springform pan (the hero for easy slicing)
- Spatula (for scraping every last bit of that creamy filling)
- Measuring cups/spoons (precision is your friend here)
That’s it! No fancy gadgets—just the basics to make magic happen.
How to Make Sernik Step by Step
Okay, let’s dive in—this is where the magic happens! Don’t worry, I’ll walk you through each step so your sernik turns out perfectly creamy and dreamy.
- Preheat that oven! Crank it to 180°C (350°F) so it’s nice and hot when your cheesecake is ready to bake.
- Make the crust: In a bowl, mix the softened butter and flour until it looks like wet sand. Press it firmly into the bottom of your springform pan—I use the back of a spoon to get it even. No need to go up the sides!
- Whip the filling: In another bowl, beat the cream cheese and sugar until smooth (no lumps allowed!). Add eggs one at a time, mixing just until combined—overbeating = cracks, and we don’t want that! Stir in the vanilla and lemon zest.
- Pour and bake: Gently pour the filling over the crust. Pop it in the oven for 45–50 minutes. It’s done when the edges are set but the center still has a slight wobble—like Jell-O, not liquid!
- Cool like a pro: Turn off the oven, crack the door open, and let it cool inside for 30 minutes. Then move it to the counter to cool completely. Patience pays off—no rushing or you’ll get cracks!
- Chill out: Refrigerate for at least 4 hours (overnight is even better). This sets the texture perfectly.
See? Simple steps, but each one matters. And that first creamy bite? Totally worth the wait.
Tips for the Best Sernik
- Room temp is key: Cold cream cheese or eggs = lumpy filling. Let them sit out for at least an hour!
- Mix gently: Overbeating the eggs invites cracks—just blend until smooth, no more.
- Cool slowly: That post-bake oven nap prevents sudden temperature shocks (and cracks!).
- Chill thoroughly: Resist cutting into it too soon—4 hours minimum for that perfect creamy slice.
Follow these, and your sernik will be smooth, crack-free, and downright irresistible. Promise!
Variations of Sernik
Want to mix things up? Here are some fun twists on the classic:
- Fruity: Fold in a handful of golden raisins or top with fresh berries.
- Citrus swap: Use orange zest instead of lemon for a sweeter, sunnier vibe.
- Chocolate lover’s dream: Drizzle melted chocolate over the cooled cake or mix cocoa powder into the crust.
- Spiced: Add a pinch of cinnamon or cardamom to the filling for warmth.
See? Even tradition loves a little creativity!
Serving Suggestions
Serve your sernik chilled—it’s heavenly with a dollop of fresh whipped cream or a handful of juicy berries. A dusting of powdered sugar? Pure magic. Perfect for tea time or dessert!
Storing and Reheating Sernik
This sernik keeps beautifully! Store it covered in the fridge for up to 3 days—just let it come to room temp for 15 minutes before serving for that creamy texture. To freeze, wrap slices tightly in plastic and foil; they’ll stay perfect for 2 months. Thaw overnight in the fridge—no reheating needed!
Nutritional Information
Nutritional values are estimates only and can vary based on ingredient brands and portion sizes. One slice (1/8th of the cake) provides roughly 320 calories, 18g fat, and 20g sugar. Enjoy in moderation—but let’s be real, it’s hard to stop at just one slice!
Frequently Asked Questions
Can I use low-fat cream cheese?
You can, but the texture won’t be as rich and creamy. Full-fat cream cheese gives that classic sernik silkiness—trust me, it’s worth the splurge!
Why did my sernik crack?
Most likely from overmixing the eggs or cooling too fast. Mix gently and let it cool slowly in the turned-off oven—it’s like a cozy blanket for your cheesecake!
Can I freeze leftovers?
Absolutely! Wrap slices tightly in plastic and foil, then freeze for up to 2 months. Thaw overnight in the fridge—no reheating needed.
Do I need a springform pan?
Yes! It’s the easiest way to get clean slices. If you don’t have one, line a regular pan with parchment paper—just be extra careful when removing slices.
Can I skip the lemon zest?
Technically yes, but that zing is what makes sernik special! If you must, try a dash of vanilla instead—but really, don’t skip the zest.
Share Your Sernik Experience
Did you make this sernik? I’d love to hear how it turned out! Leave a comment below or rate the recipe—your tips might help the next baker nail it too!
Print
Creamy Sernik Recipe: 5 Secrets to Perfect Polish Cheesecake
- Total Time: 1 hour 10 minutes
- Yield: 8 servings 1x
- Diet: Vegetarian
Description
A classic Polish cheesecake with a creamy texture and a buttery crust.
Ingredients
- 500g cream cheese
- 200g sugar
- 4 eggs
- 200g butter
- 300g flour
- 1 tsp vanilla extract
- 1 lemon zest
Instructions
- Preheat oven to 180°C.
- Mix butter and flour for the crust, press into a baking pan.
- Beat cream cheese, sugar, eggs, vanilla, and lemon zest until smooth.
- Pour filling over the crust.
- Bake for 45-50 minutes until set.
- Cool before serving.
Notes
- Use room-temperature ingredients for smoother filling.
- Let the cake cool slowly to prevent cracks.
- Prep Time: 20 minutes
- Cook Time: 50 minutes
- Category: Dessert
- Method: Baking
- Cuisine: Polish
Nutrition
- Serving Size: 1 slice
- Calories: 320
- Sugar: 20g
- Sodium: 180mg
- Fat: 18g
- Saturated Fat: 10g
- Unsaturated Fat: 6g
- Trans Fat: 0g
- Carbohydrates: 32g
- Fiber: 1g
- Protein: 7g
- Cholesterol: 120mg
Keywords: sernik, Polish cheesecake, dessert